
If you screw this up, your entire project will be a complete waste of money and time. You MUST make the underlying structure as square as you can. This means that after you place the supporting lumber down, it must be perfectly square. An easy way to measure and find square is by measuring the two diagonals of the square. It may take you hours to adjust things, but it is well worth the trouble because, as I said earlier, if this isn't done right, you might as well not even begin.
Another thing to make absolutely sure of is that your floor structure is 100% level. You will need to level it on both horizontal axis' but also on the diagonal of the supporting structures. DO NOT FORGET THIS!
You can see in the picture above that there is already a central cement pier base. This was from an outdoor telescope mount which I had sitting out in the weather for probably fifteen years. Luckily, I had enough brains to cover the thing and it is still in perfect shape. But, this cement base is what I needed to center the observatory over, making it a no-brainer in deciding where to locate the observatory.
I decided not to create a 100% cement base, instead, I used the ideas found in the structure's manual to dig about one to two inches into the dirt, and place cement supports for the supporting structure's lumber.
Also notice that I placed the supporting lumber a bit higher than the cement pier base. The reason for this is that the pier I ordered was forty eight inches, and based on my measurements of the hight of the telescope, the mount and the pier, I needed to raise the floor to a point where the telescope would actually fit into the structure. Kind of an important thing to consider.
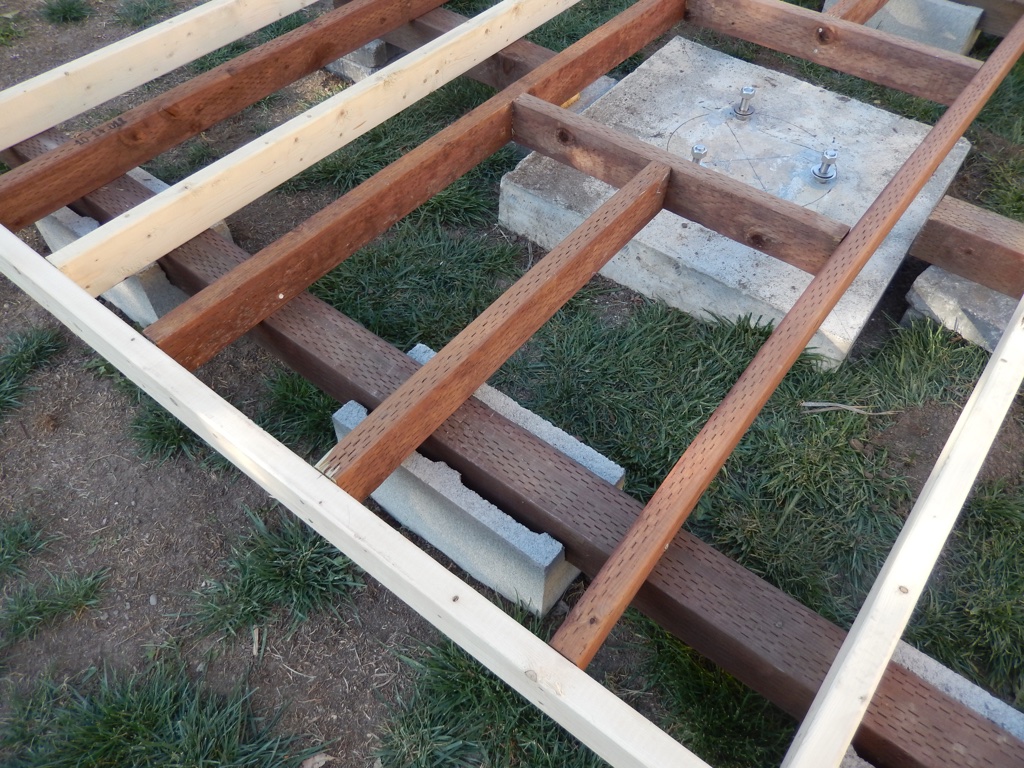
Going by the instructions in the structure's assembly manual, I placed the floor joists where they were required, but because of my need to make sure everything is 150% or better, I decided to add some additional joists to the floor. I also needed to frame the existing cement pier and would later place some supports on it to help support the floor, even though, it probably wouldn't even really need it.
You can also see that I changed the cement supports from simple bricks (as shown in this page's first photo) to 4x4 cement supports specifically meant to support a floor base with 4x4's. These were only a few bucks a piece and really made things easier to get level.
Note: I checked the square and the level of the entire floor supporting structure every time I made any type of change. After nailing in a nail, I checked square and level. After measuring wood to be cut (if it touched anything that was already built), I checked square and level. Again, this is so important, I cannot say enough about it.
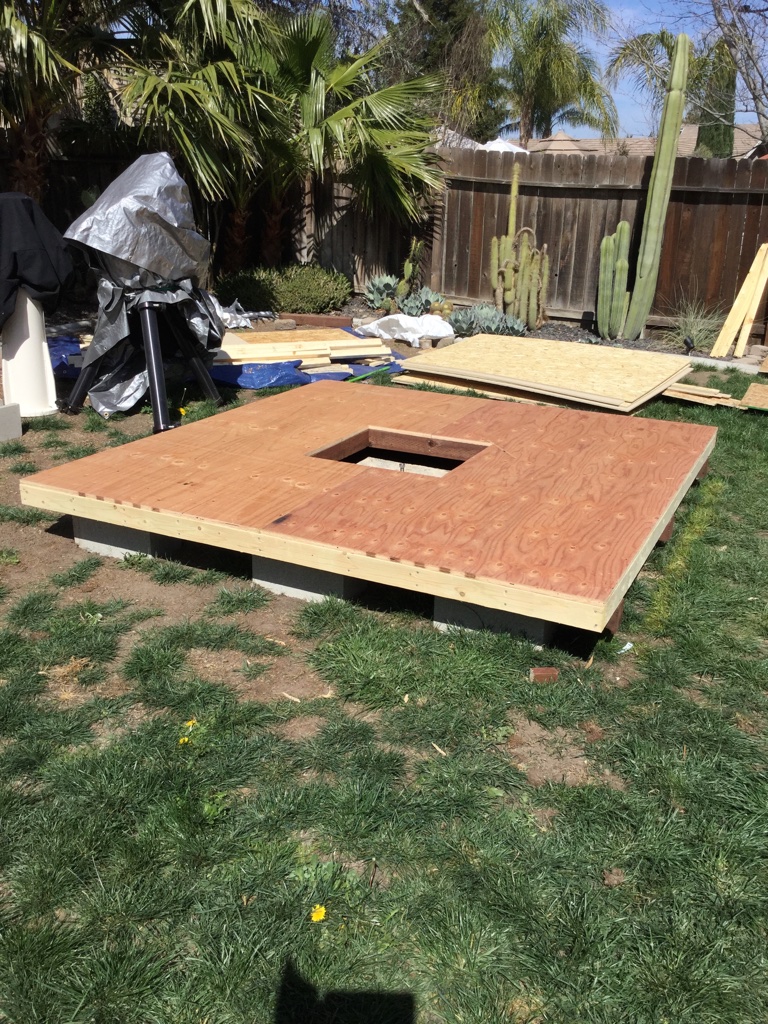
The final flooring was then installed. I made absolutely sure that everything was square and level throughout the construction of the floor, so everything was looking great for final floor installation.
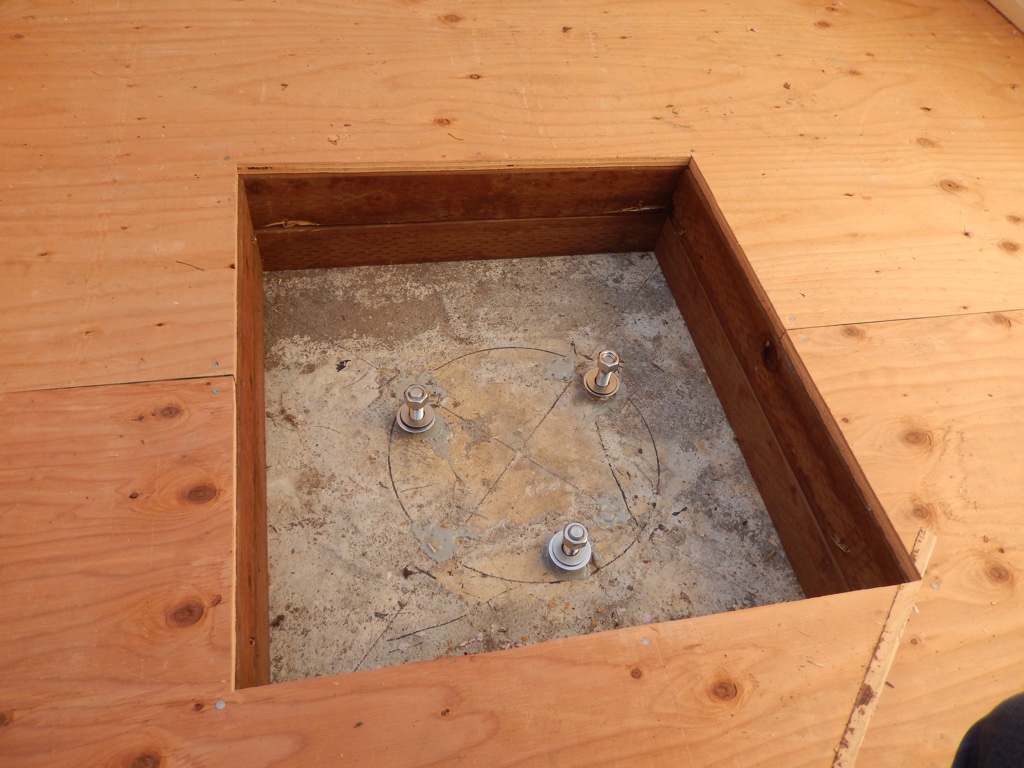
Besides cutting a hole in the floor to accommodate the pier, I also had to support that part of the floor with additional 4x4's (treated) to assure stability of the entire structure.