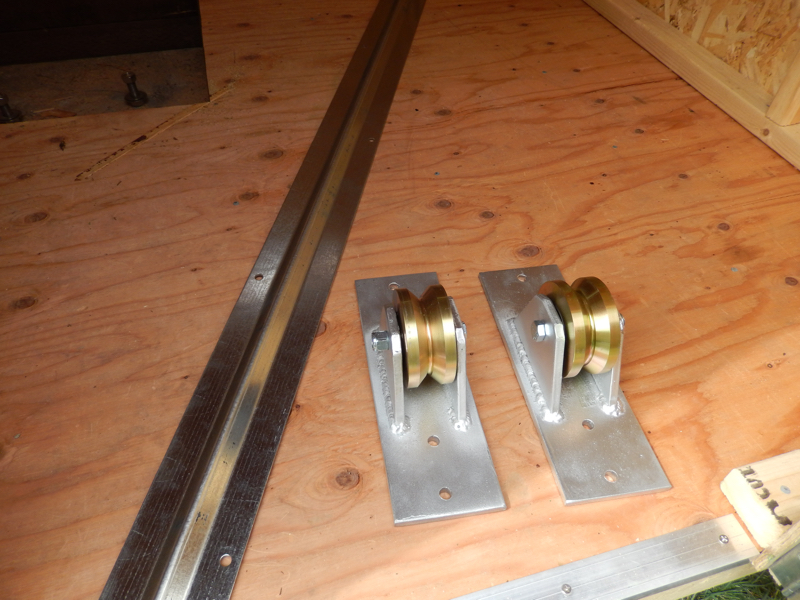
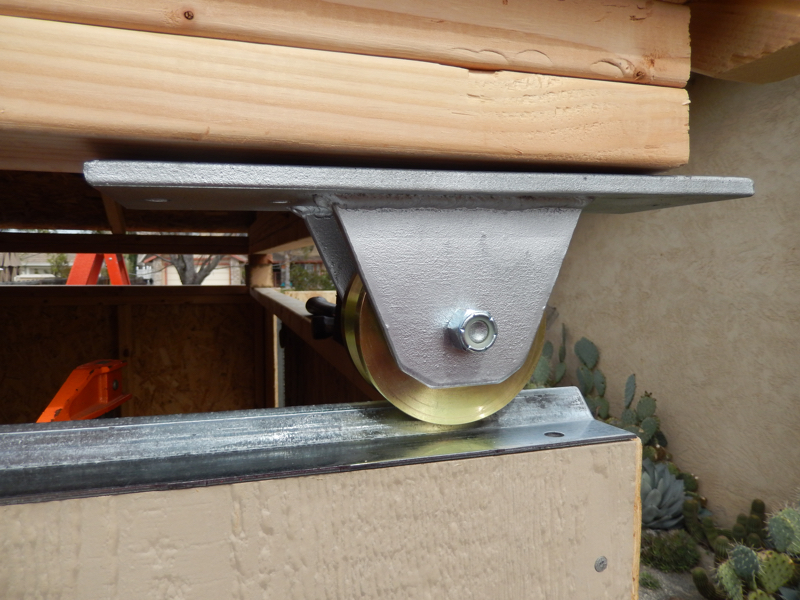
The materials for the rolling roof were purchased from a local fence shop. They purchased the brass wheels and then fabricated the supports for them. These are to be attached to the roof support studs which were used to attach the roof rafters.
The tracks were also purchased as is, longer than necessary, and two per roof side. They will be laid end to end and then bolted into place. I decided to do this before installing the external roof support structure to make sure everything worked well before continuing that external construction.
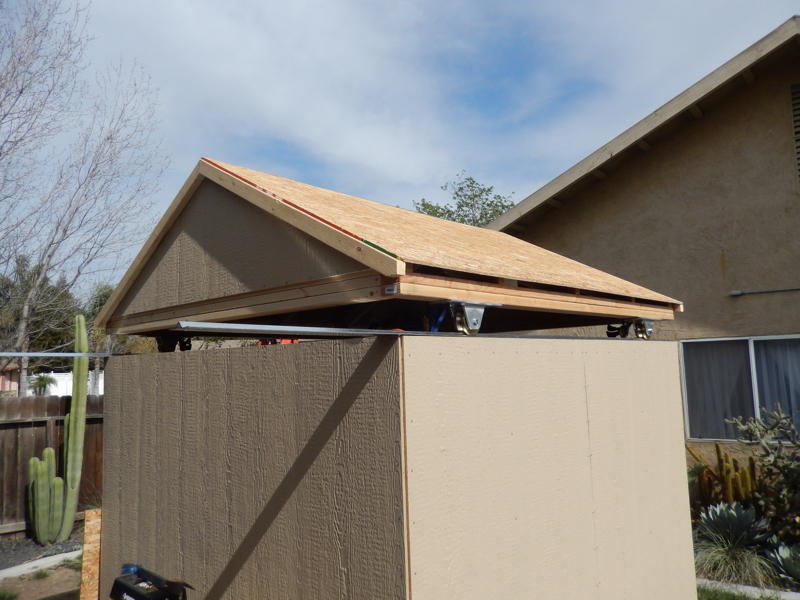
Using pry-bars, I slowly pried up each corner of the roof and placed progressively larger pieces of scrap wood under each corner to slowly lift the roof. I made sure that the roof structure was centered after each lifting until I had the roof about four inches above the wall structure itself. While prying up the roof, I made absolutely sure that there was no sliding. Doing this slowly and progressively allowed the roof structure to maintain its integrity and helped avoid accidents. This is a VERY delicate operation, but easy if you take your time.
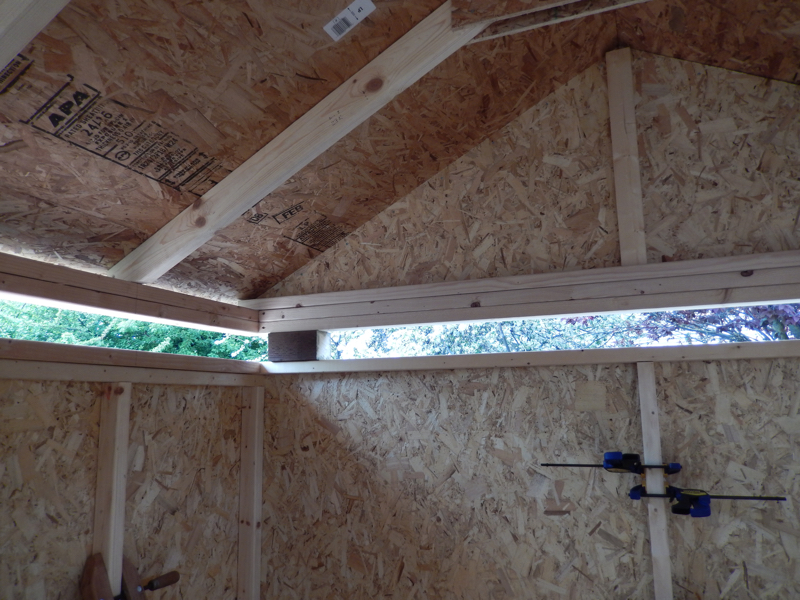
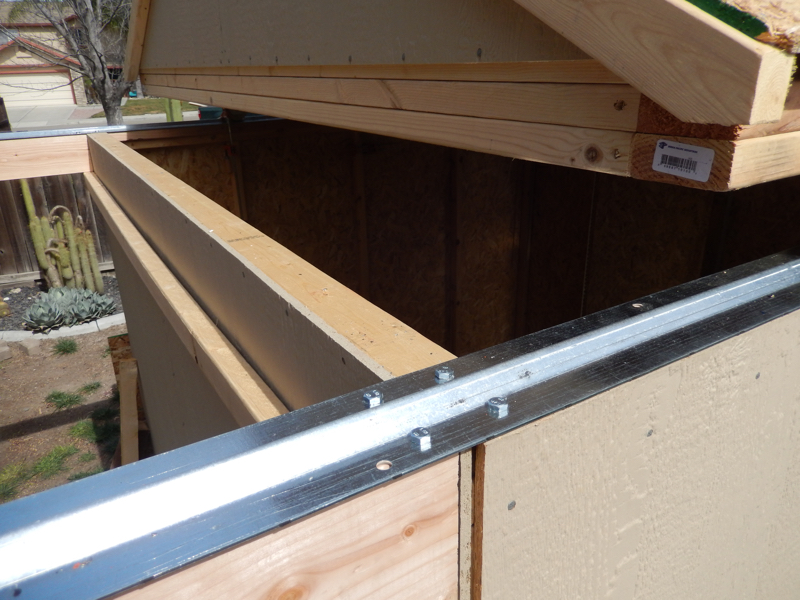
I then laid the tracks on the walls themselves and clamped them in place on either end. I did not bolt them to the wood walls yet as I wanted to make sure all measurements were complete first. Also, the clamps on the end of the tracks could be used as stops to keep the roof from rolling off once the wheels were installed.
Once the tracks were in place, with a rubber mallet, I was able to get the wheels onto them and under the roof structure from either end of the track. This was extremely satisfying as the roof now had wheels!
I did this on both ends of each side of the roof/building. I then used clamps to hold the wheels in place for the measuring and level of the roof..
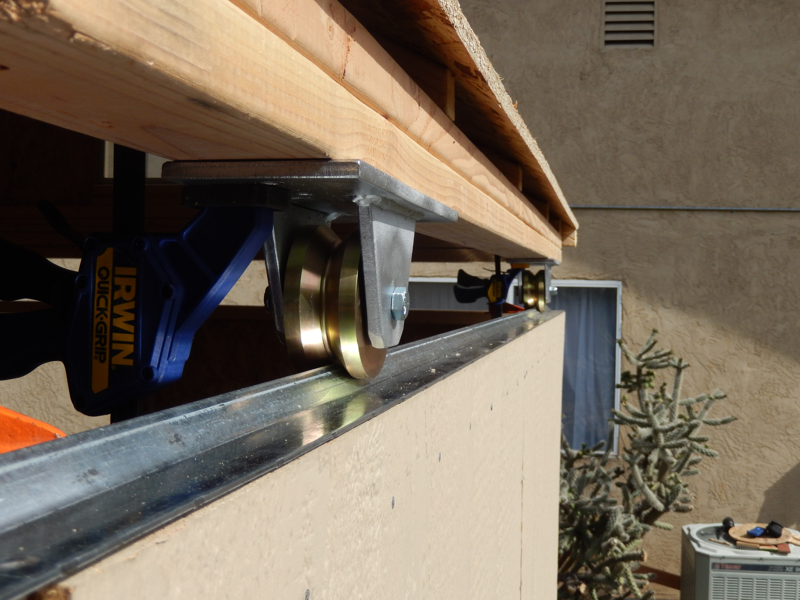
With everything measured, clamped and adjusted, the roof had wheels!
Since the tracks were already longer than the walls, I had a great starting point to begin the installation of the external supports.
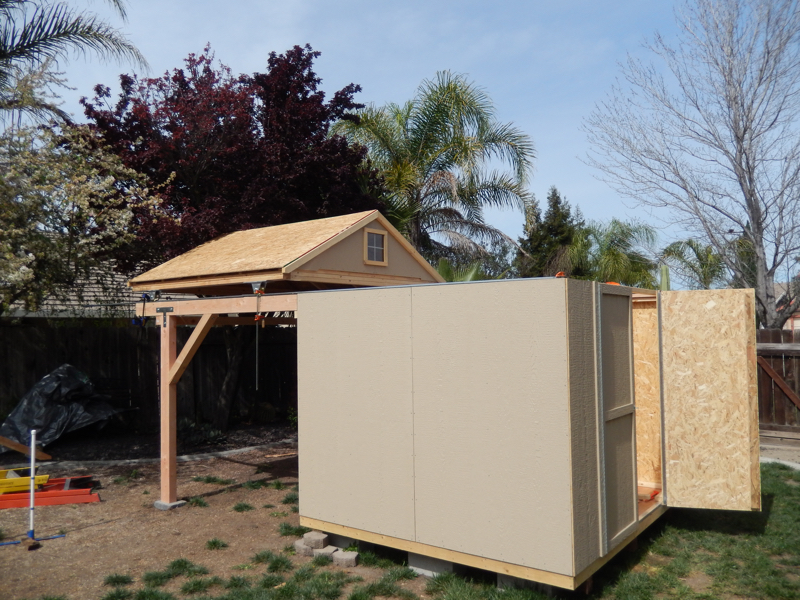
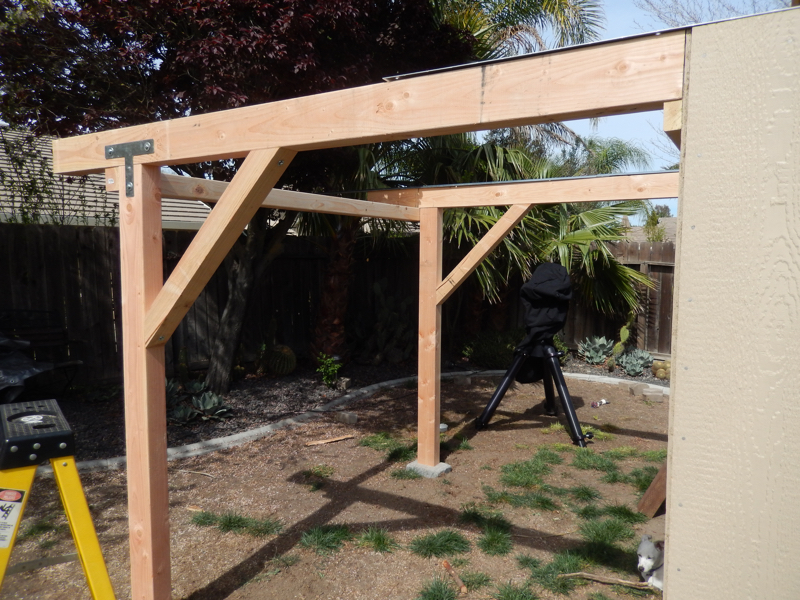
I did some measuring of the height of the 4x6 supports and screwed in a 1/2 support stud up against the back wall to hold the first support in place against the building. I then used a ladder to support the other end and then balance the 4x6 support stud. Using a plumb bob I then found the location on the ground where I was going to either make a cement pad or use a landscaping brick - I chose the later.
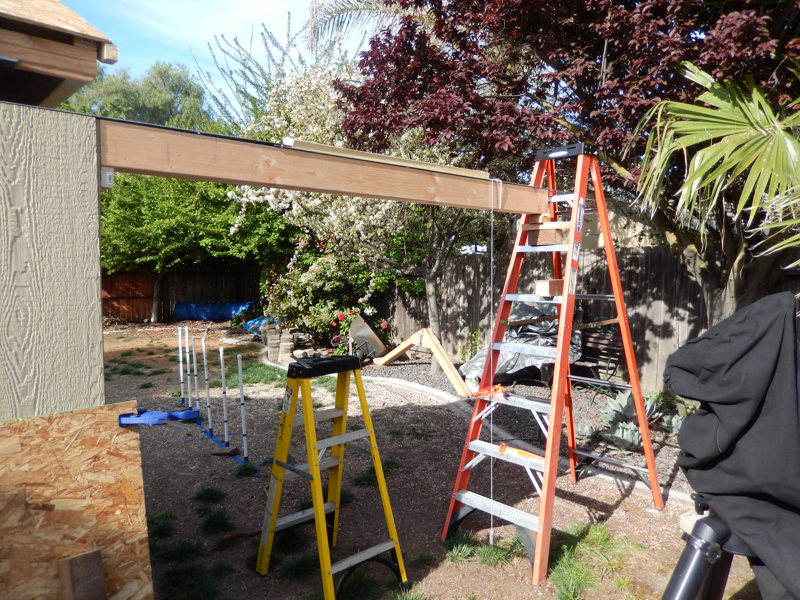
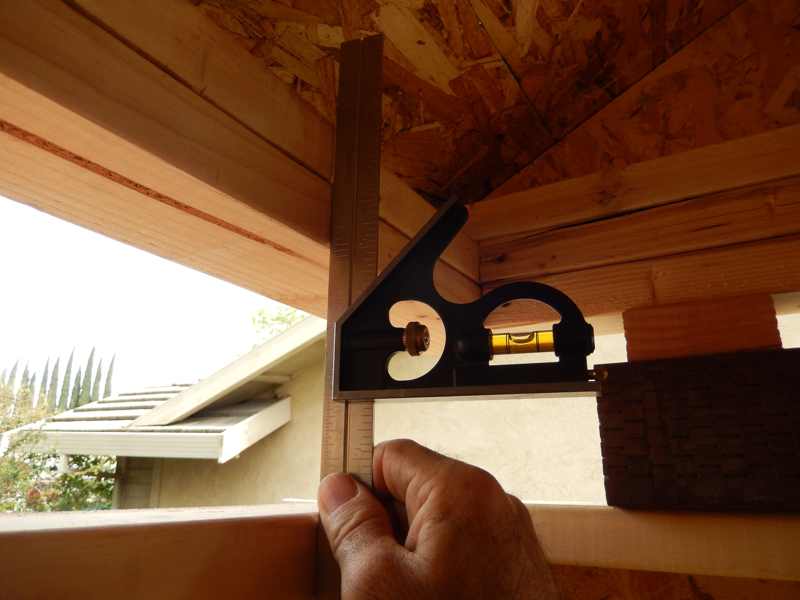
Once I placed the supporting brick into the dirt about an inch deep, I then placed a 4x6 stud perpendicular to the horizontal roof support and checked for level and square multiple times. Notice the additional roof supporting lumber which was installed on the back wall to make absolutely sure that the external support structure could take the weight of a fully shingled roof as it slid off the main building.
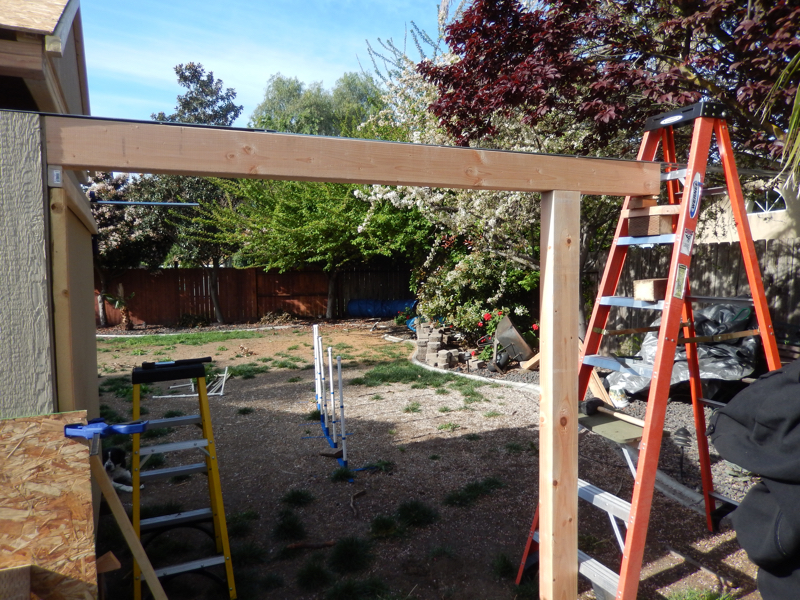
I did the same thing on the other side of the building and then placed a 4x4 stud across the two perpendicular roof support timbers to join them. Also notice the small mistake made with the ladder. I was getting tired at this point - obviously.
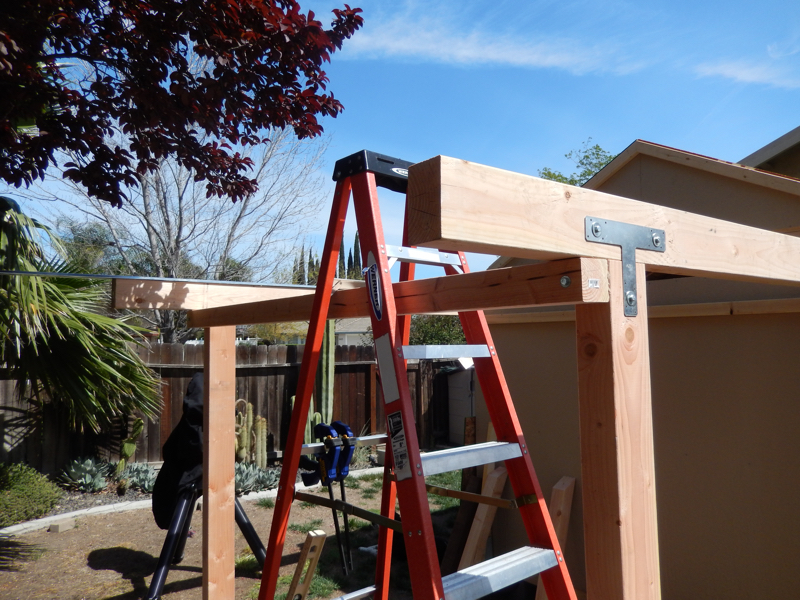
I then decided to connect the horizontal and vertical roof supports using galvanized 'T' connectors. This will provide some pretty good strength to hold this timber together.
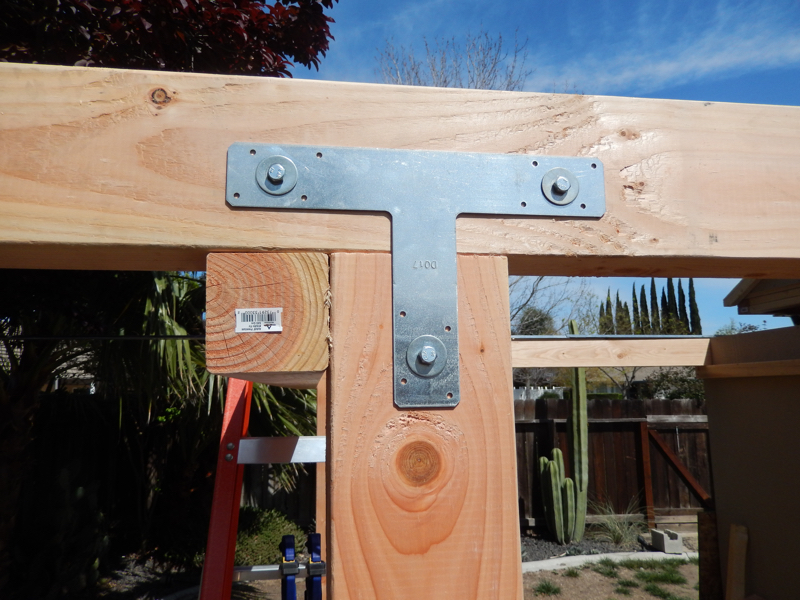
Since this structure would be supporting 300 - 500 pounds of roof, I decided to add some diagonal supports to assure the weight could be held. These are simple 45 degree angled cuts after a simple measurement between the two, already installed pieces of wood. I then bolted them into both the horizontal and vertical supports. Notice that this is the first picture showing the landscaping bricks which the vertical supports are resting on. The vertical supports are not attached in any permanent way to the ground - not really needed considering the weight they will be supporting.
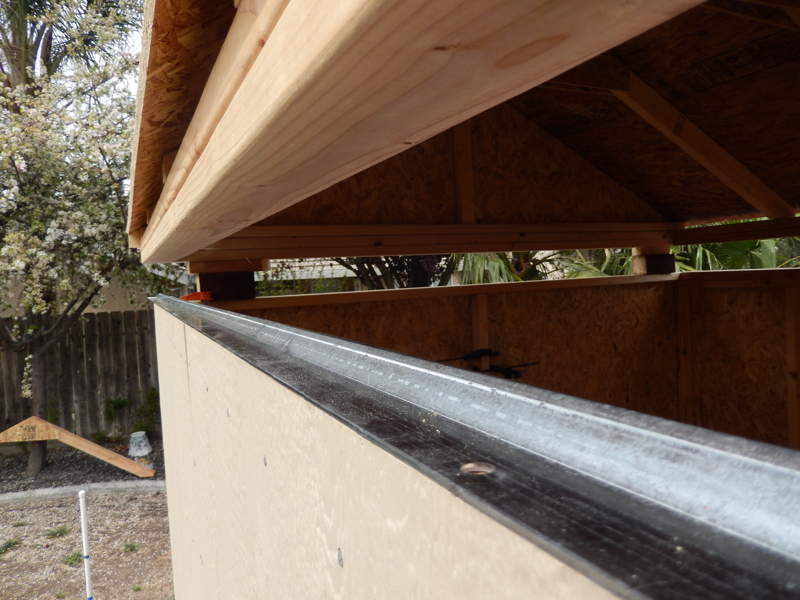
After checking for level and making a few small adjustments, I was able to bolt the first set of tracks to the horizontal external supports, then install the second set. I then cut the extra off to complete the tracks.
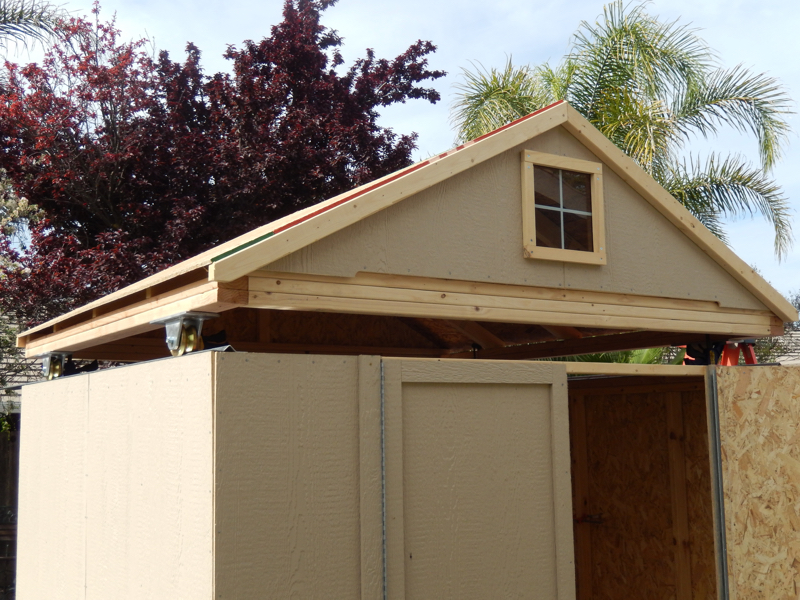
After double and triple checking everything and making sure all bolts were tight and the roof was level, I listened to every creak made as I slowly rolled the roof off onto the new external supports. Hooray! I heard a few little sounds, but mostly just the wheels moving across the tracks. I had to make some additional adjustments, but the roof can now roll off the building!
Make absolutely sure you have some sort of stops on either end of the tracks to stop the roof before it may fall off of the building - take this from persona experience! Notice the clamps on the front and rear ends of the supporting structure - this is VERY IMPORTANT!