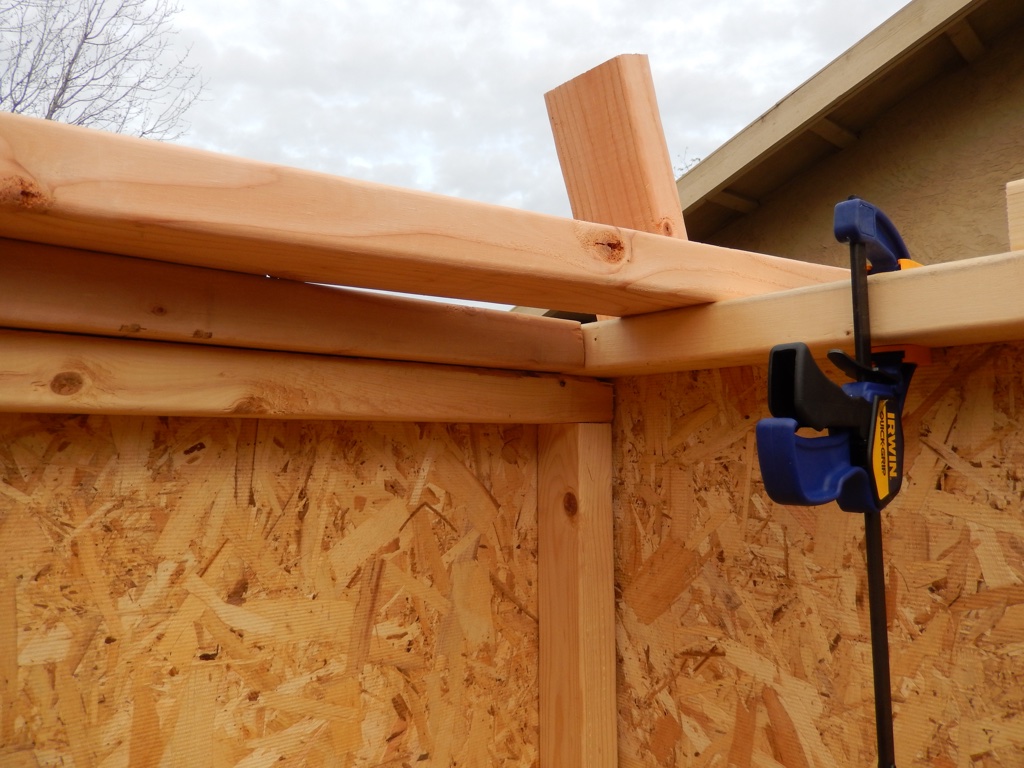
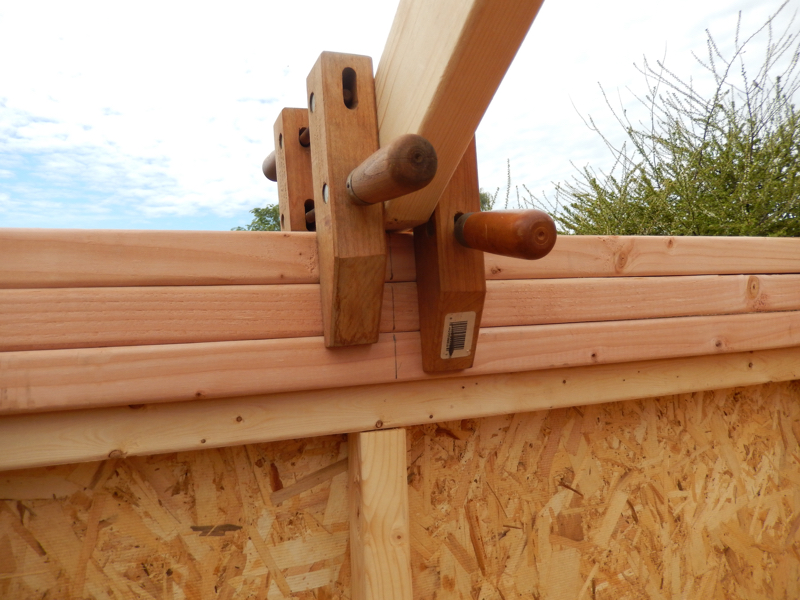
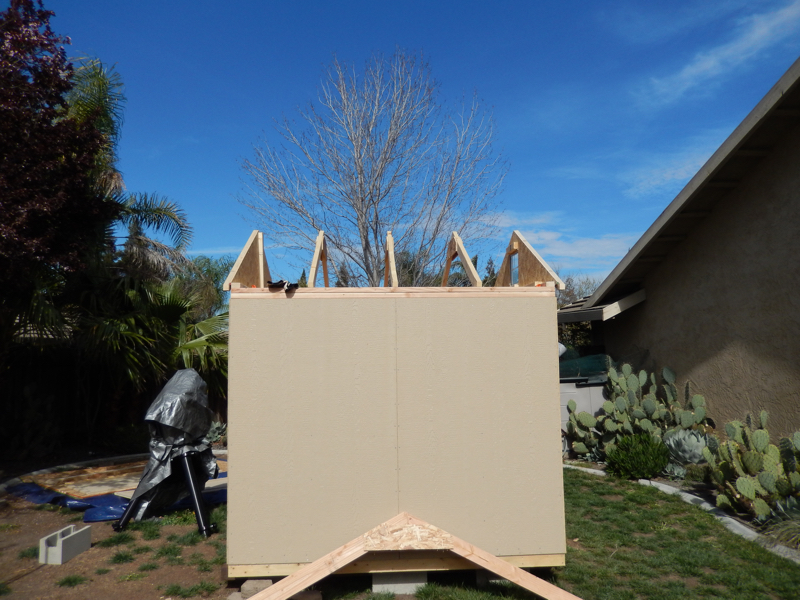
Once I had the additional 2x3's and 2x4 installed on the wall studs, I added a couple more for the actual roof itself. I then clamped these to the nailed lumber which was already installed at the top of the walls. This gave me the ability to work on the roof without it moving. I used clamps instead of nailing them because these new studs were part of the roof to support it and the wheels being made by a local machine shop.
I could have installed the tracks and wheels at this point, but I believe that would have given me an unstable platform to install the roof on, and since the roof itself is a bit angled, I didn't want a roof I was sitting on or leaning against to start moving.
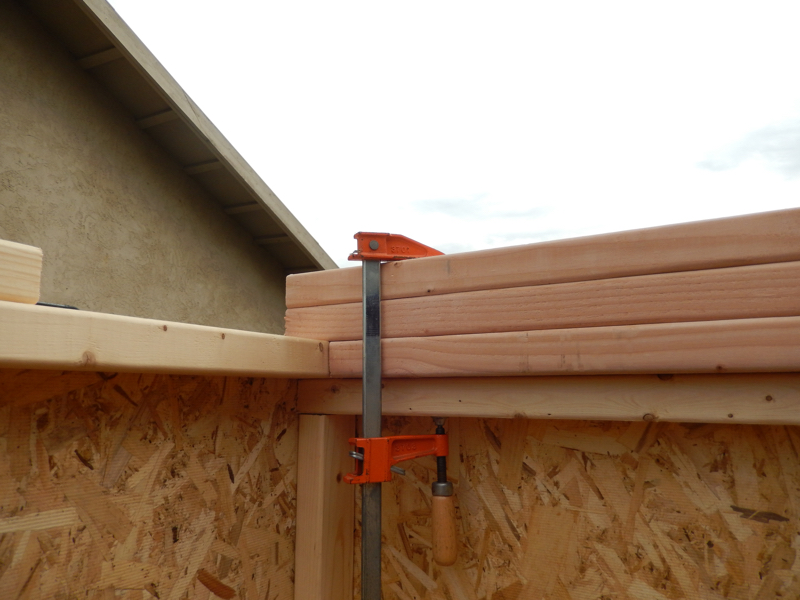
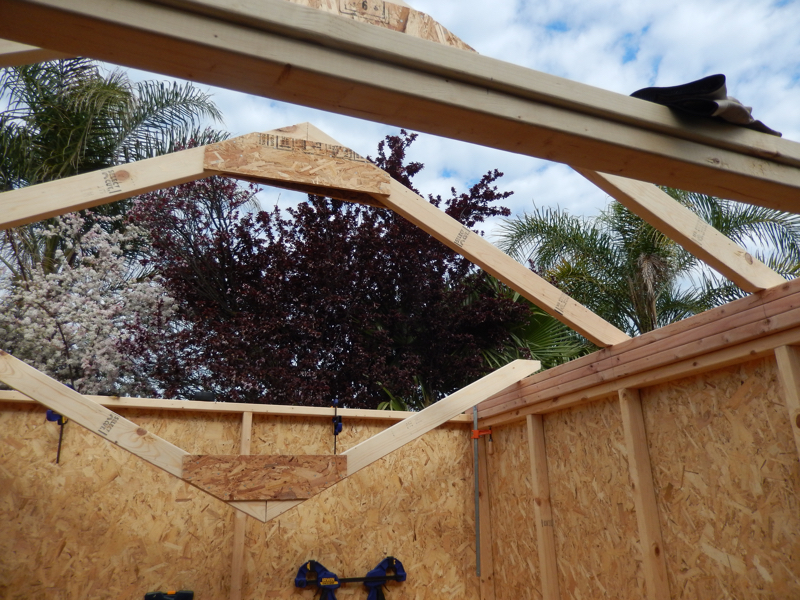
I installed the roof rafters, following the instructions from the manufacturer, and I even created a couple more in case I needed them to strengthen the roof itself or extend it for some reason. Later, I found I didn't need them. Notice how I used clamps to center the rafters. This made it possible to be a one-man-job, installing them onto the roof itself.
Only three left to go. With each end of the rafter clamped in place, I could easily nail them to the roof support studs without the help of anyone holding them. Clamps are a wonderful invention.
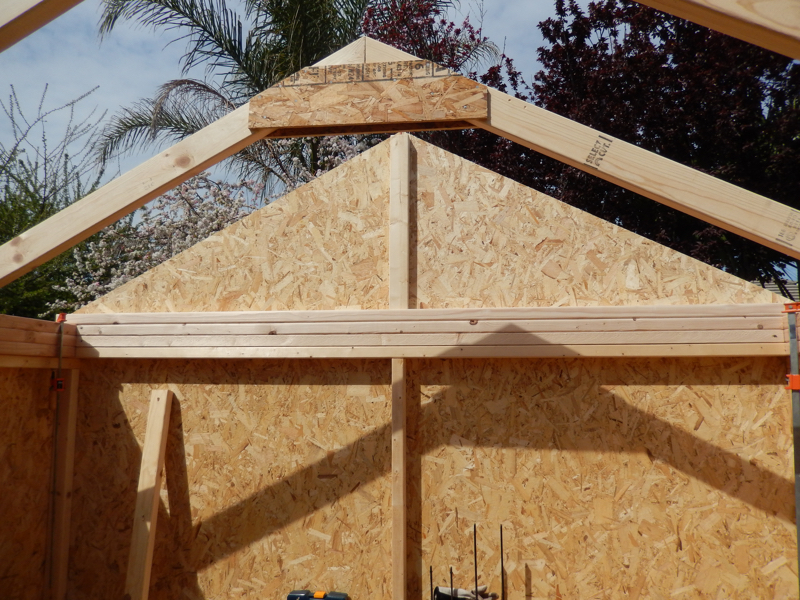
Next, the front and rear gables for the roof. This was easy to do, again, with clamps.
Well, with all of the rafters and gables up, I really didn't need the extra rafters. Oh well, lesson learned.
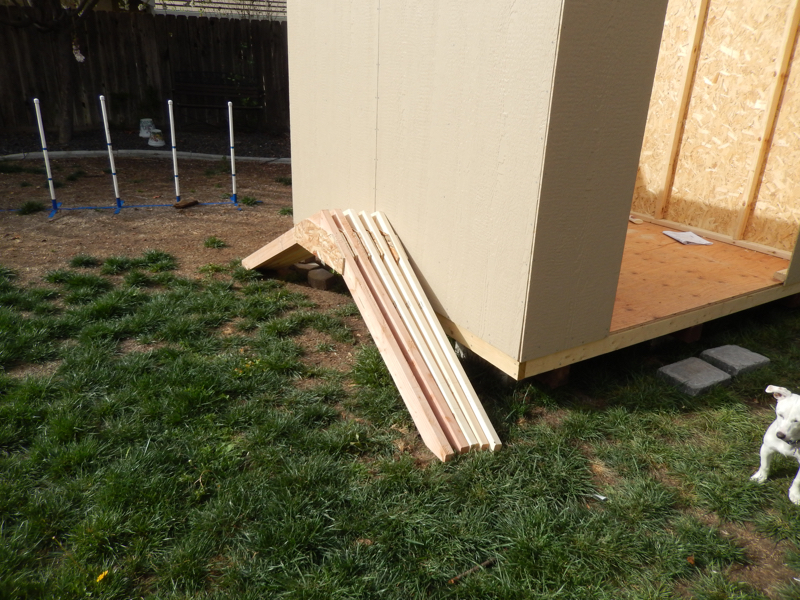
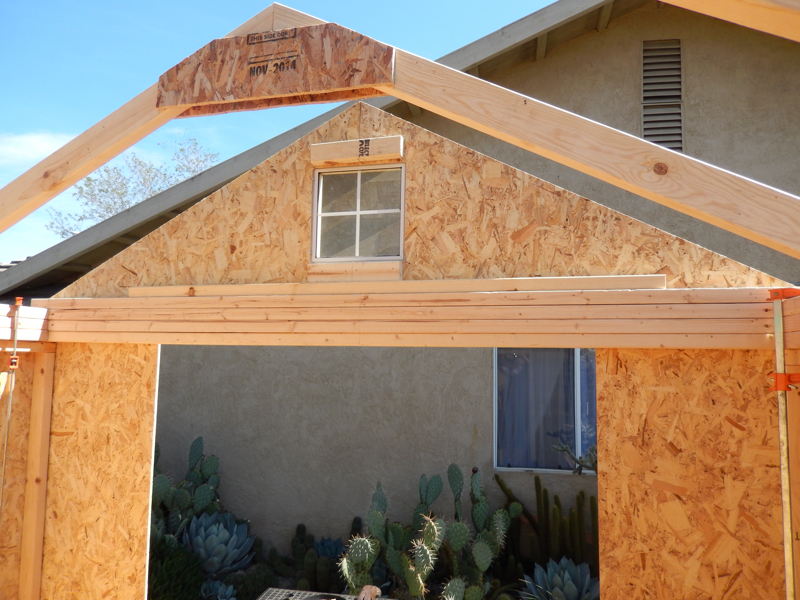
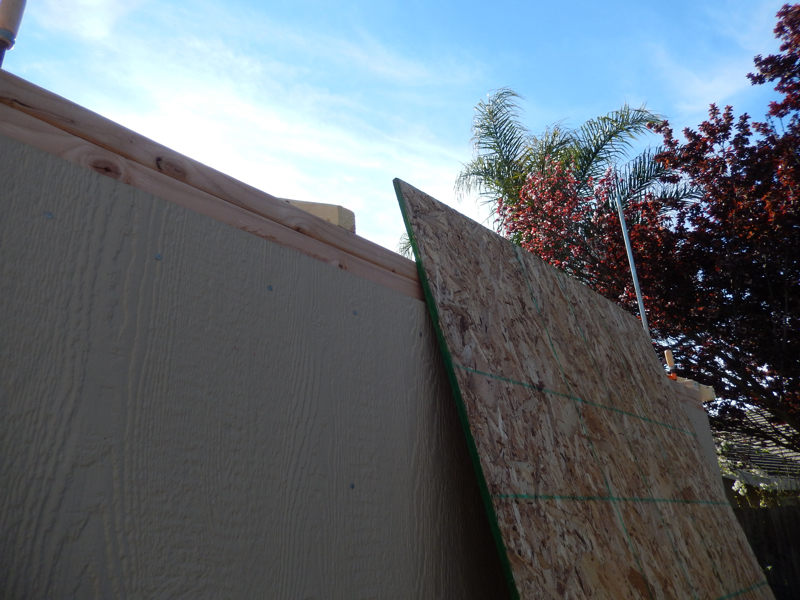
I was determined to do this on my own, but getting the roof panels up on top of the roof was going to be a daunting task. I came up with a solution using pipe clamps. I leaned the roof panel on the side of the building, then with pipe clamps there to keep the panel from sliding off, simply pushed the panel up on top of the roof and let them rest on the clamps. It was surprisingly easy.
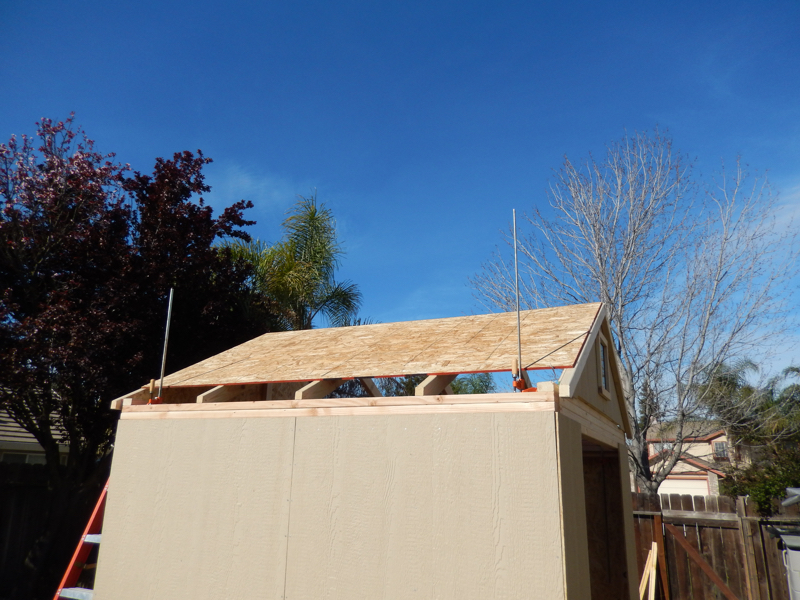
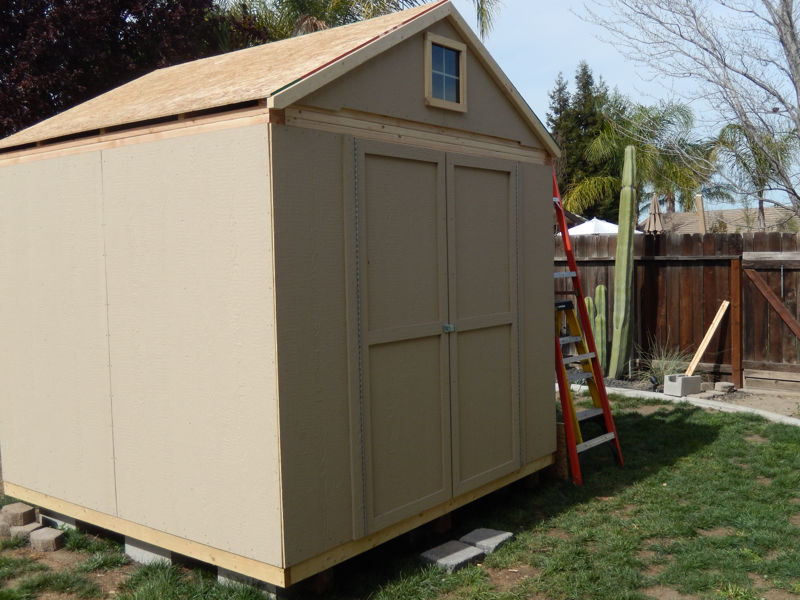
The completed roof structure. Remember, I checked for square each time I made a change during construction. This is VERY VERY important, especially when you have a disconnected roof from the main structure (even though they both are clamped together).
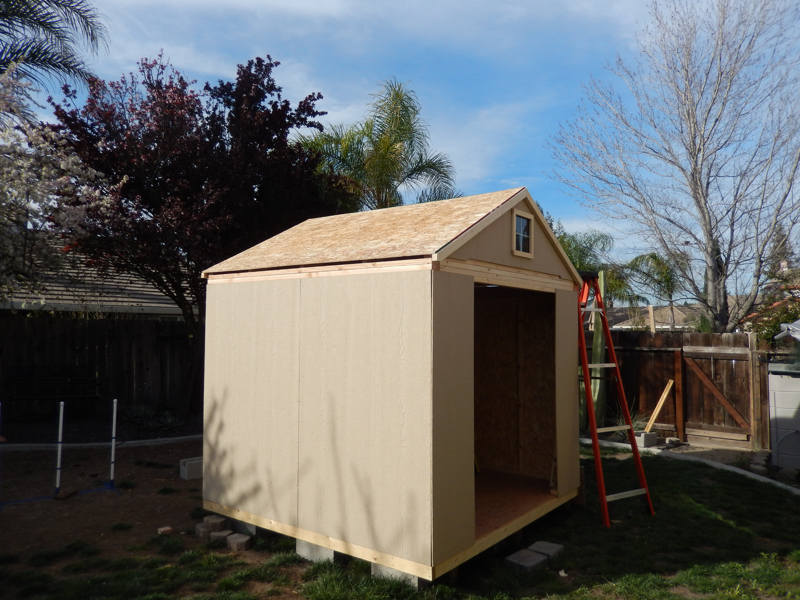
The doors were simple - I just followed the instructions that came with the shed. Probably took about 30 minutes.